In this post we will show how you can customize the Open MYR ESP32-Motors embedded webpages to give your own style or functionality.
The ESP32-Motors code uses the ESP Async WebServer library to server webpages from the onboard flash and SPIFFS filesystem.
Before we make a new webpage, we need to understand how the code serves webpages.
Everything the web browser needs to render the page is stored in SPIFFS and sent by the ESP32 web server.
When you navigate to the device’s IP address in a web browser the following page is served.
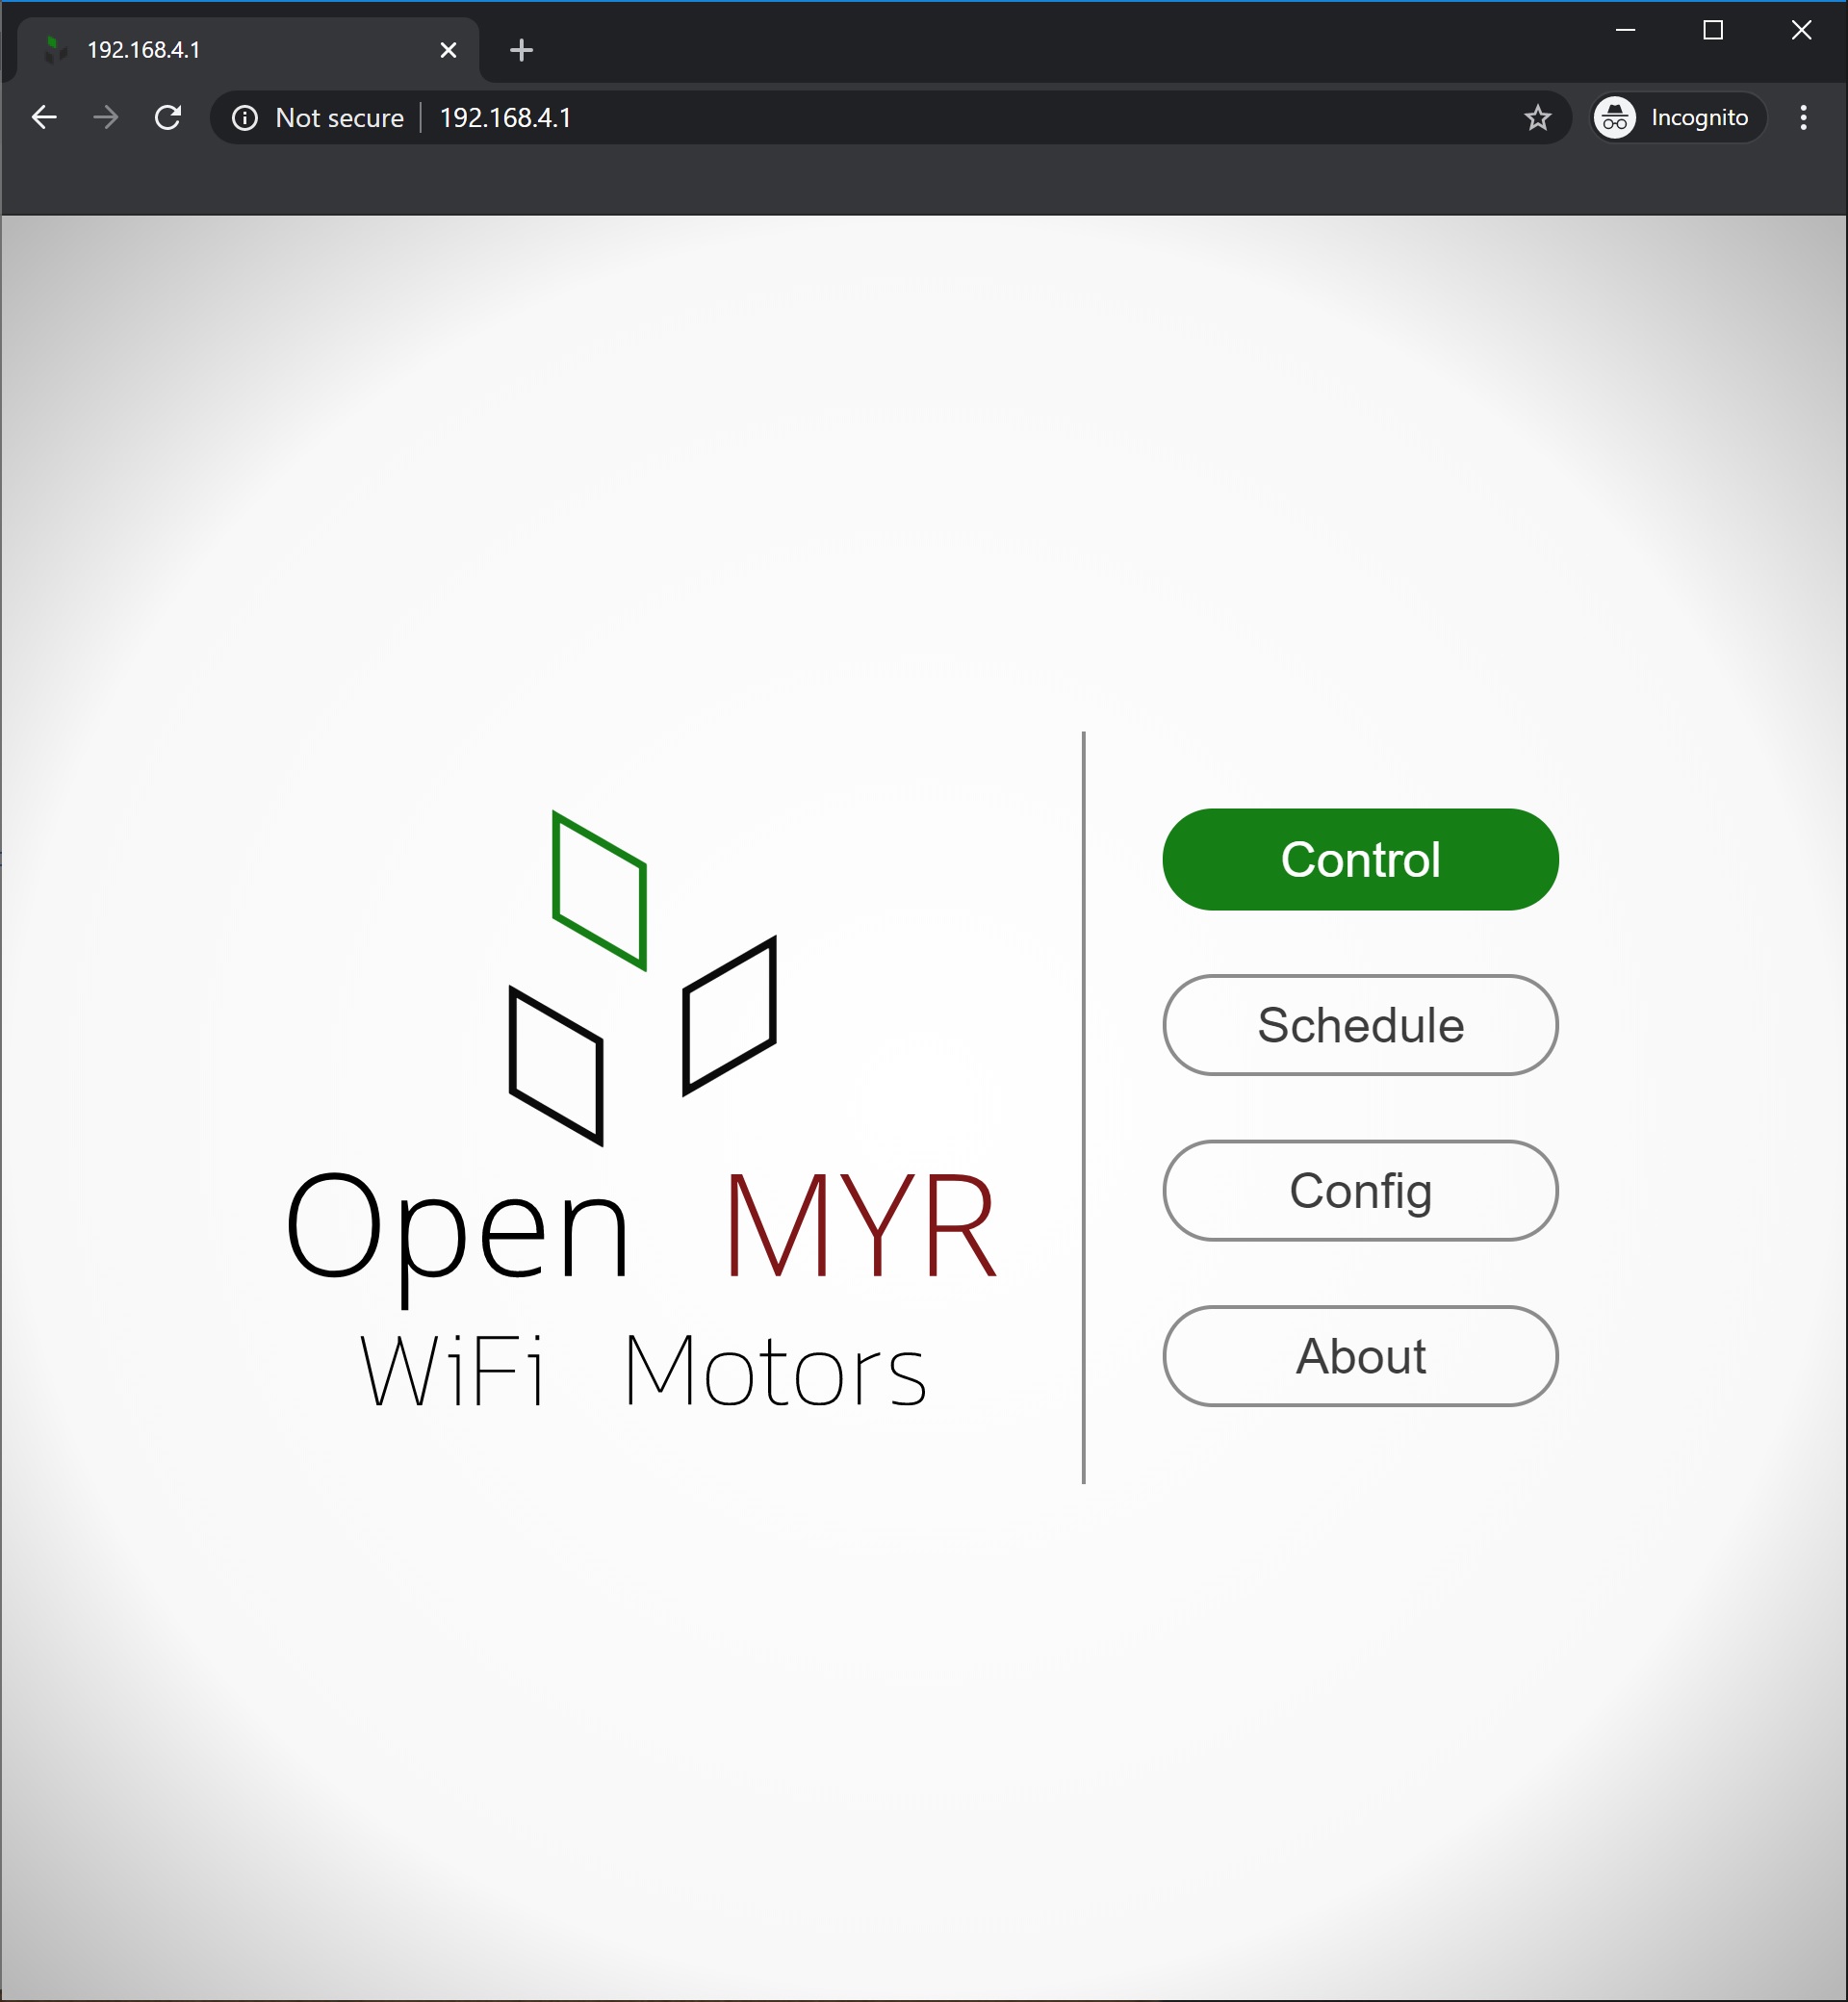
The webserver.cpp configures the devices webserver.
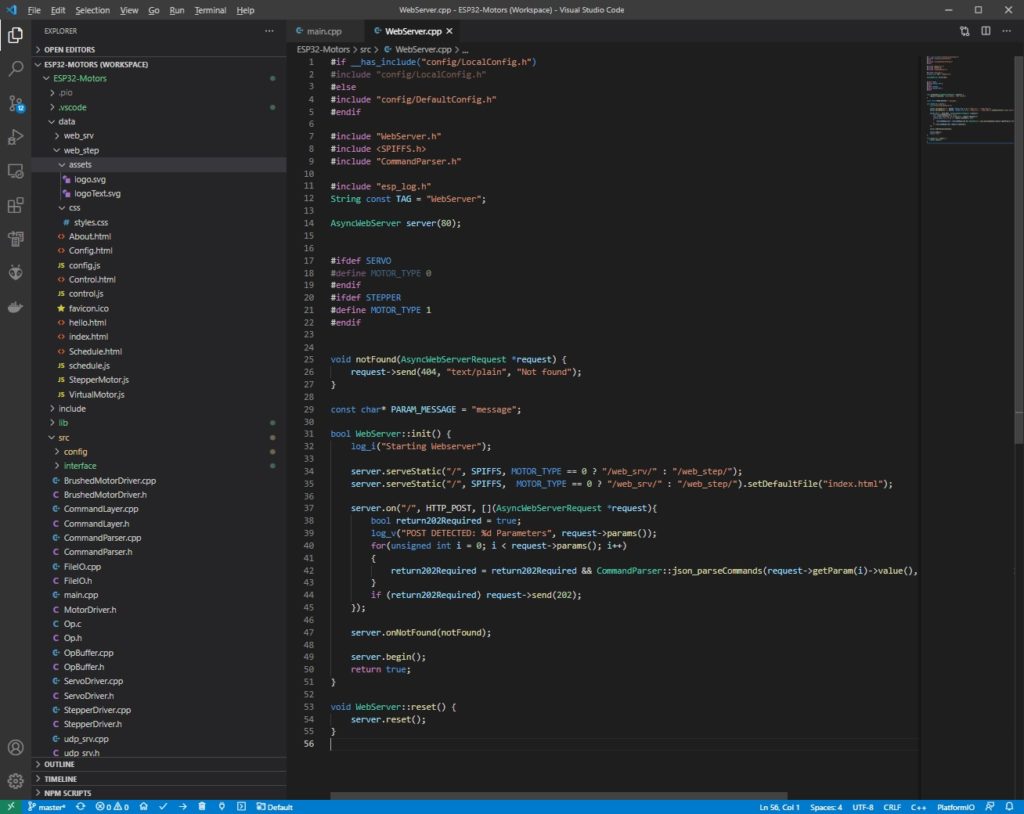
In webserver.cpp the following lines of code configure the webserver.
server.serveStatic("/", SPIFFS, MOTOR_TYPE == 0 ? "/web_srv/" : "/web_step/");
server.serveStatic("/", SPIFFS,  MOTOR_TYPE == 0 ? "/web_srv/" : "/web_step/").setDefaultFile("index.html");
The first line configures the website root to be severed from the “web_srv” or “web_step” folder loading into SPIFFS. The “web_srv” folder contains the webpages for servo control and “web_step” folder contains the webpages for stepper motor control.
The second line set the default webpage to the “index.html” file. This is the page loaded when you navigate to the device’s IP address.
For this example, we are going to add a button to the index.html file and replace the picture of the page for a stepper motor controller.
In Visual Studio Code we open the ESP32-Motors project and navigate to and open the index.html file.
Index.html located in the .\ESP32-Motors\data\web_step\ folder.
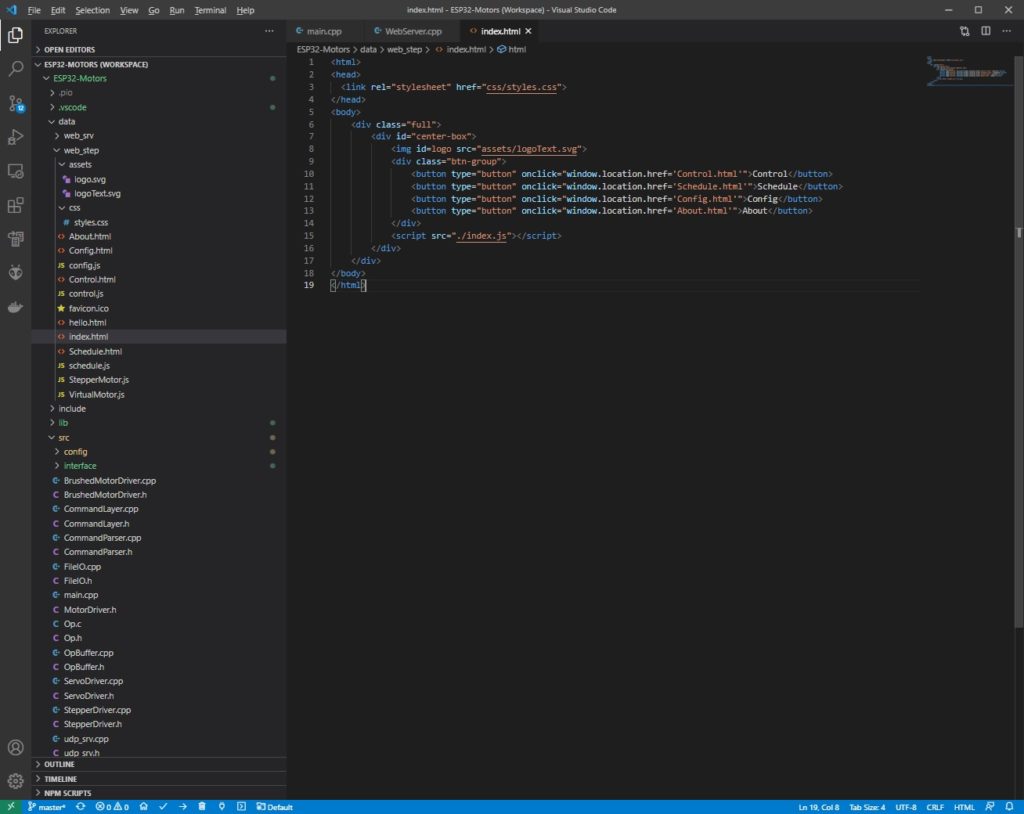
In the html file we insert:
<button type="button" onclick="sendDemoCommand(0)">Demo Command</button>Then we create or modify the index.js file to include the sendDemoCommand function:
function sendDemoCommand(demoNumber) {
    selectedDemo = demoNumber;
    let out = {
        commands: [{
                code: "U",
                data: [
                    1,
                    0,
                    0,
                    1,
                ]
            },
            {
                code: "M",
                data: [
                    1,
                    1,
                    200,
                    50,
                ]
            }
        ]
    };


    let httpRequest = new XMLHttpRequest();
    httpRequest.open("POST", "/", true);
    httpRequest.setRequestHeader("Content-type", "application/x-www-form-urlencoded");
    httpRequest.send(JSON.stringify(out));
}
This code creates two JSON commands per the OPCODE interface and sends them via a http POST to the controller.
As a reference the final JSON created by the function is :
{"commands":[{"code":"U","data":[1,0,0,1]},{"code":"M","data":[1,1,200,50]}]}Last we change the index.html to show this image:

First we place the image into the .\ESP32-Motors\data\web_step\assets folder, we named it camera.jpg for this example.
Then in the index.html we change
<img id=logo src="assets/logoText.svg">to
<img id=logo src="assets/camera.jpg">We can check that the html is correct by opening the local file in our web browser and ensuring it looks correct or just jump right to uploaded it to the device.
Then we upload SPIFFS to the ESP32 device
First ensure all the files we have been editing as saved to the latest version is uploaded.
Then in Visual Studio Code run the appropriate “PlatformIO: Upload Filesystem Image” command.
Once successfully uploaded, we navigate to the device’s IP address in a web browser and the following page is served.
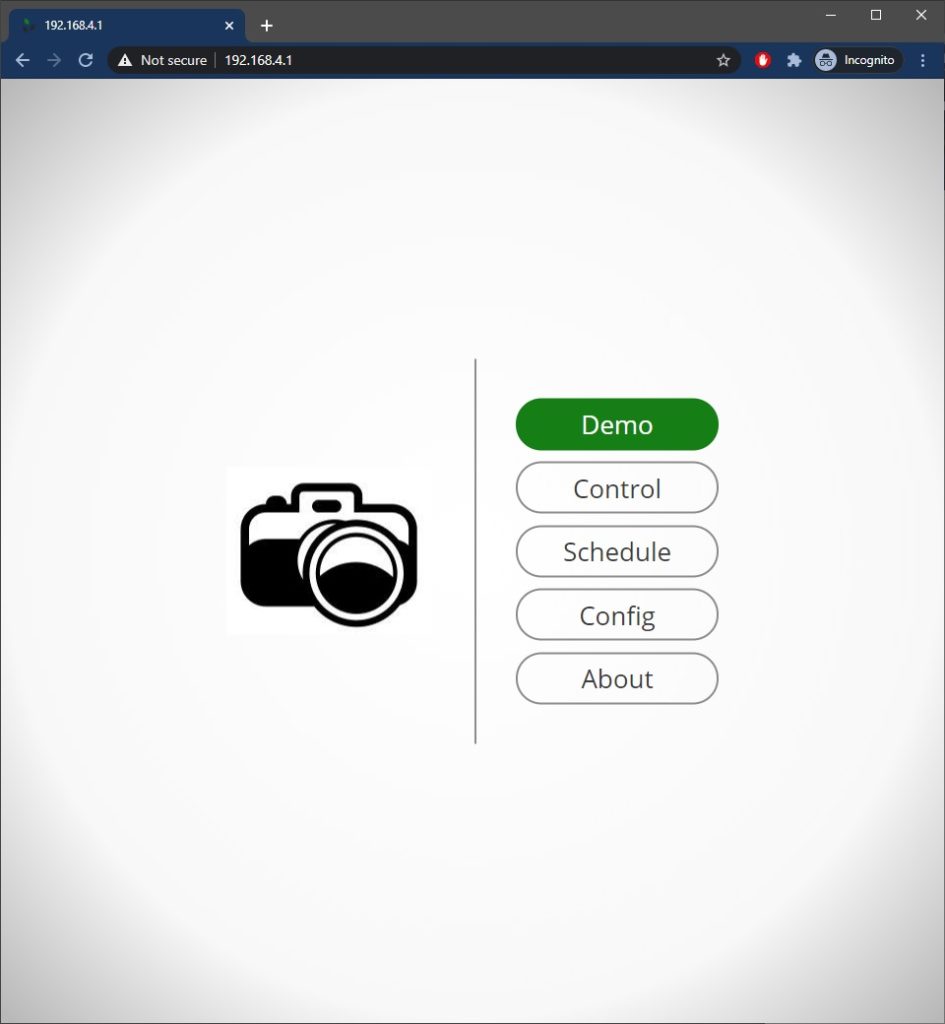
Clicking the Demo button causes the motor to move.
The motor moved a bit slower then desired, so we can go back into the index.js file and update the OPCODE ‘M’ parameters for faster movement as micro stepping is enabled by the first command OPCODE ‘U’.
code: "M",
data: [
    1,
    1,
    2000,
    500,
]
Uploading the modified index.js gives the desired movement.
Successes!!
Now that we have the basic functionality of OPCODE control with a JSON POST we can further customize the webpages to provide the needed functionality of a project.